Diagnosis steps begin with interior stain mapping, attic inspection for moisture, then exterior drone assessment. Vulcan Roofing’s drone technology pinpoints flashing, shingle, or vent failures, followed by immediate leak repair and documentation via a free Roofing Score Report backed by a 50-year warranty.
Roof leak diagnosis follows a three-step protocol: identify location, note weather pattern, then check roof age. Flashing around chimneys, pipe boots, and skylights causes most leaks; slow-rain ceiling stains signal underlayment failure. Vulcan Roofing’s drone inspections and Roofing Score Reports pinpoint the source precisely, backed by a 50-year warranty on completed repairs.
What Should You Check Before You Start?
Two things matter before any homeowner touches a ladder: safety and location logic. A proper leak diagnosis starts with the understanding that water rarely enters where it appears on the ceiling. Roofs Wiki’s guide notes that water breaching a roof rarely drips straight down. It travels along deck sheathing, runs down rafters, and follows electrical wiring before surfacing feet away from the actual hole. The Complete Guide to Roof Leak Diagnosis & Repair confirms this pattern directly: a leak rarely starts where the water stain appears.
That means a homeowner scanning the ceiling for the nearest roof penetration is often looking in the wrong place entirely. Before attempting to find leak sources, property owners should:
- Note the exact ceiling stain location and shape
- Check the attic for damp insulation, rafters, or nail heads
- Track any slope or seam that could carry water toward the stain
- Avoid walking the roof deck alone in wet or unstable conditions
Is it safe to inspect the roof myself?
Climbing onto a wet or aging roof deck creates real fall risk. Misreading a soft spot underfoot can cause a collapse. Vulcan Roofing offers free inspections and a complimentary Roofing Score Report, giving homeowners an honest baseline reading before anyone climbs a ladder. Drone technology adds another layer, capturing precise roof conditions from the ground and removing guesswork from the early stages of any roof leak flowchart.
How Do You Follow the Roof Leak Flowchart?
A methodical roof leak flowchart starts with location, moves to weather pattern, then checks roof age before any repair decision gets made. Property managers and homeowners who skip straight to patching often treat symptoms instead of the actual source. The sequence below narrows the search fast and prevents wasted repair dollars on the wrong fix.
- Note where the stain appears. Mark the ceiling or wall location and check whether it sits near a chimney, pipe boot, skylight, or valley.
- Match the leak to weather conditions. A leak that only shows up during wind-driven rain behaves differently than one triggered by slow, steady rainfall.
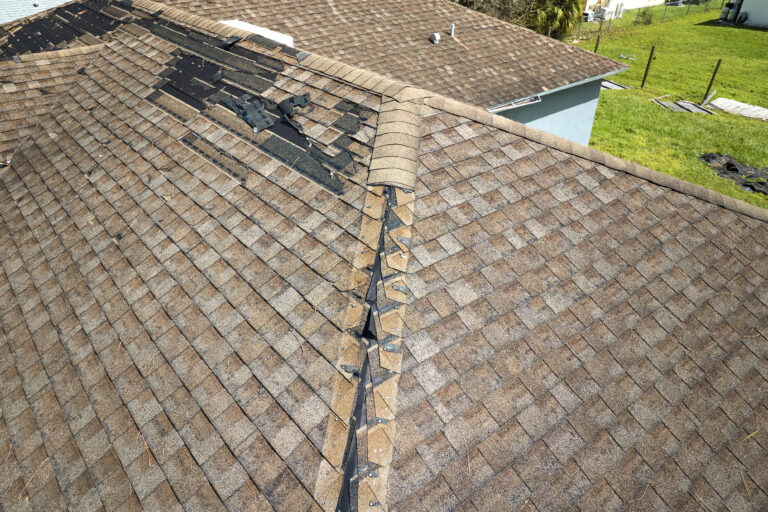
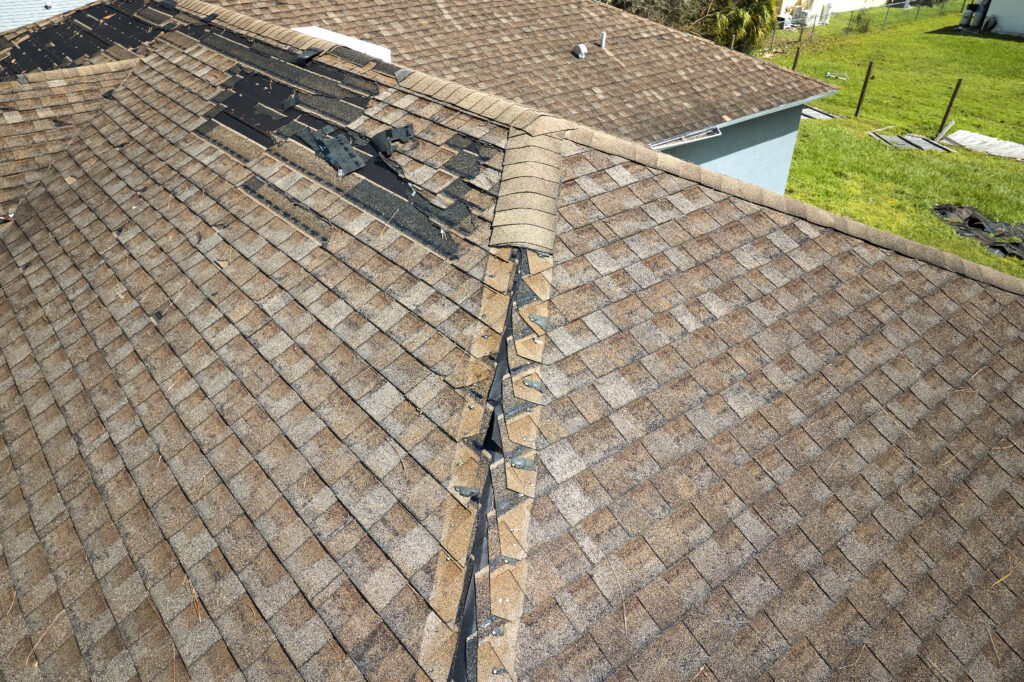
- Inspect for physical shingle damage. Granule loss and cupped or split shingles spread across multiple slopes signal shingle-field failure rather than a flashing problem.
- Check for non-rain moisture signs. Musty attic odors, frost on nail heads, or condensation streaks with no active storm point toward a ventilation issue instead of a surface breach.
- Bring in a technician for leak diagnosis on the roof itself. Confirmed findings should be verified in person, not guessed from inside the attic alone.
Is It Flashing or a Shingle Problem?
Flashing failure almost always shows up at chimneys, pipe boots, skylights, or valleys, the joints where two roof planes or materials meet. Shingle-field failure instead spreads across open slopes and correlates with wind-driven storms.
Why Does Roofing Material Matter During Inspection?
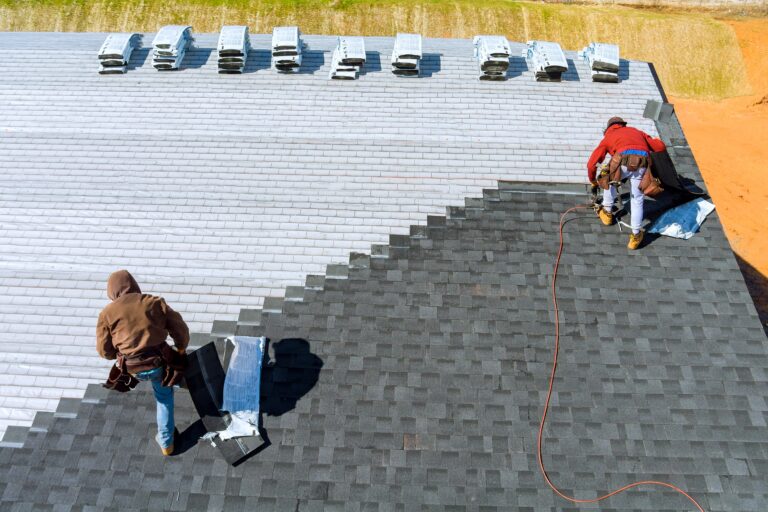
Material type changes how a leak presents itself and how it gets repaired. Vulcan Roofing services architectural shingles, luxury shingles, wood shakes, and other major roofing systems, giving technicians the material-specific knowledge needed to find leak sources accurately on any roof type.
What If the Leak Doesn’t Stop?
A persistent leak after initial repairs signals a deeper issue than surface patching can solve. Water that keeps returning despite a homeowner’s best efforts often means the true source was never isolated correctly. Active, worsening damage calls for immediate professional intervention rather than repeated DIY attempts.
Who handles a leak that won’t quit?
Vulcan Roofing’s crew works beyond normal business hours because damage doesn’t pause for a convenient schedule. Emergency tarping, immediate leak repair, and temporary roof solutions keep water out while a permanent fix gets planned. This response matters most when a find leak attempt at home fails and water keeps spreading.
What happens after the leak is finally located?
Following a thorough leak diagnosis, Vulcan Roofing repairs the confirmed source using an engineering-informed approach rooted in sound structural principles, not guesswork. Every completed repair carries the 100% Property Protection Promise along with honest, transparent pricing.
Homeowners working through a roof leak flowchart on their own gain confidence knowing backup exists:
- Emergency response for active, worsening leaks
- Diagnosis guided by structural engineering principles
- Repairs backed by a 50-year warranty
- Transparent pricing with no hidden charges
Key Takeaways for Diagnosing and Preventing Roof Leaks
In closing, diagnosing a roof leak requires systematic observation and careful attention to the signs your home presents. Whether you trace the problem yourself or recognize the limits of DIY investigation, the goal remains the same: identifying the source quickly to prevent water damage and costly repairs. When you’re ready to move from diagnosis to solution, Vulcan Roofing stands ready with expert inspections, precise drone technology, and honest guidance to address your leak with the craftsmanship and integrity your home deserves.